Create a conda environment#
Note
All setup steps below will be run through a terminal. If you are on Linux or MacOS, this is the “Terminal” app. If you are on Windows and have followed the guide on this site to install Git, this is the Git Bash.
We will now use git and conda/mamba to clone the BOAT tutorial repository and create a computational environment to run a test Jupyter notebook to ensure everything works fine.
Clone the tutorial repository#
Git is a version control tool that can be used locally, while GitHub facilitates sharing and collaborating via web-hosted repositories. We can use the git clone command to download GitHub repositories to our own computer.
Launch a terminal and navigate (using
cd) into the folder which you would like the BOAT tutoral repository to be save in. For example, the command below navigates into a directory calledgit_repos:$ cd git_repos
Run the command below to clone (download) the BOAT tutorial repository from GitHub. You should then have a new folder called
fundamentalsundergit_repos.$ git clone https://github.com/BOAT-ocean-acoustics/fundamentals.git
Navigate into the
fundamentalsrepository directory (assuming you are ingit_repos)$ cd fundamentals
Tip
If you have previously cloned the repository and want to get the latest version, run the following commands:
$ cd git_repos/fundamentals  # make sure you are in the tutorial repo
$ git fetch origin
$ git reset --hard origin/main
Note these commands will overwrite any changes you may have made in the repo folder. If you want to keep your changed files, rename the files or move them outside of the fundamentals folder.
Create a conda environment#
All coding projects have a minimal set of required packages necessary for the code to run successfully. conda/mamba can help us install the compatible versions of these packages in isolated, project-specific environments. Here, we will use conda to create an environment that contains all packages specified in requirements.txt in the tutorial repository.
Assume the tutorial repository you just clone lives under the
git_reposdirectory. In your terminal, navigate (usingcd) intogit_repos/fundamentals/boat_tutorials:$ cd git_repos/fundamentals/boat_tutorials
Run the command to create a
condaenvironment calledboat-fundamentals:$ mamba create --name boat-fundamentals --file requirements.txt
Note
Mamba is a drop-in replacement for conda that is generally faster and better at resolving dependencies.
Activate the
boat-fundamentalsenvironment:$ conda activate boat-fundamentals
Use
ipykernelto install a Jupyter kernel for theboat-fundamentalsenvironment. See the next section for why we want to use Jupyter.$ python -m ipykernel install --user --name=boat-fundamentals
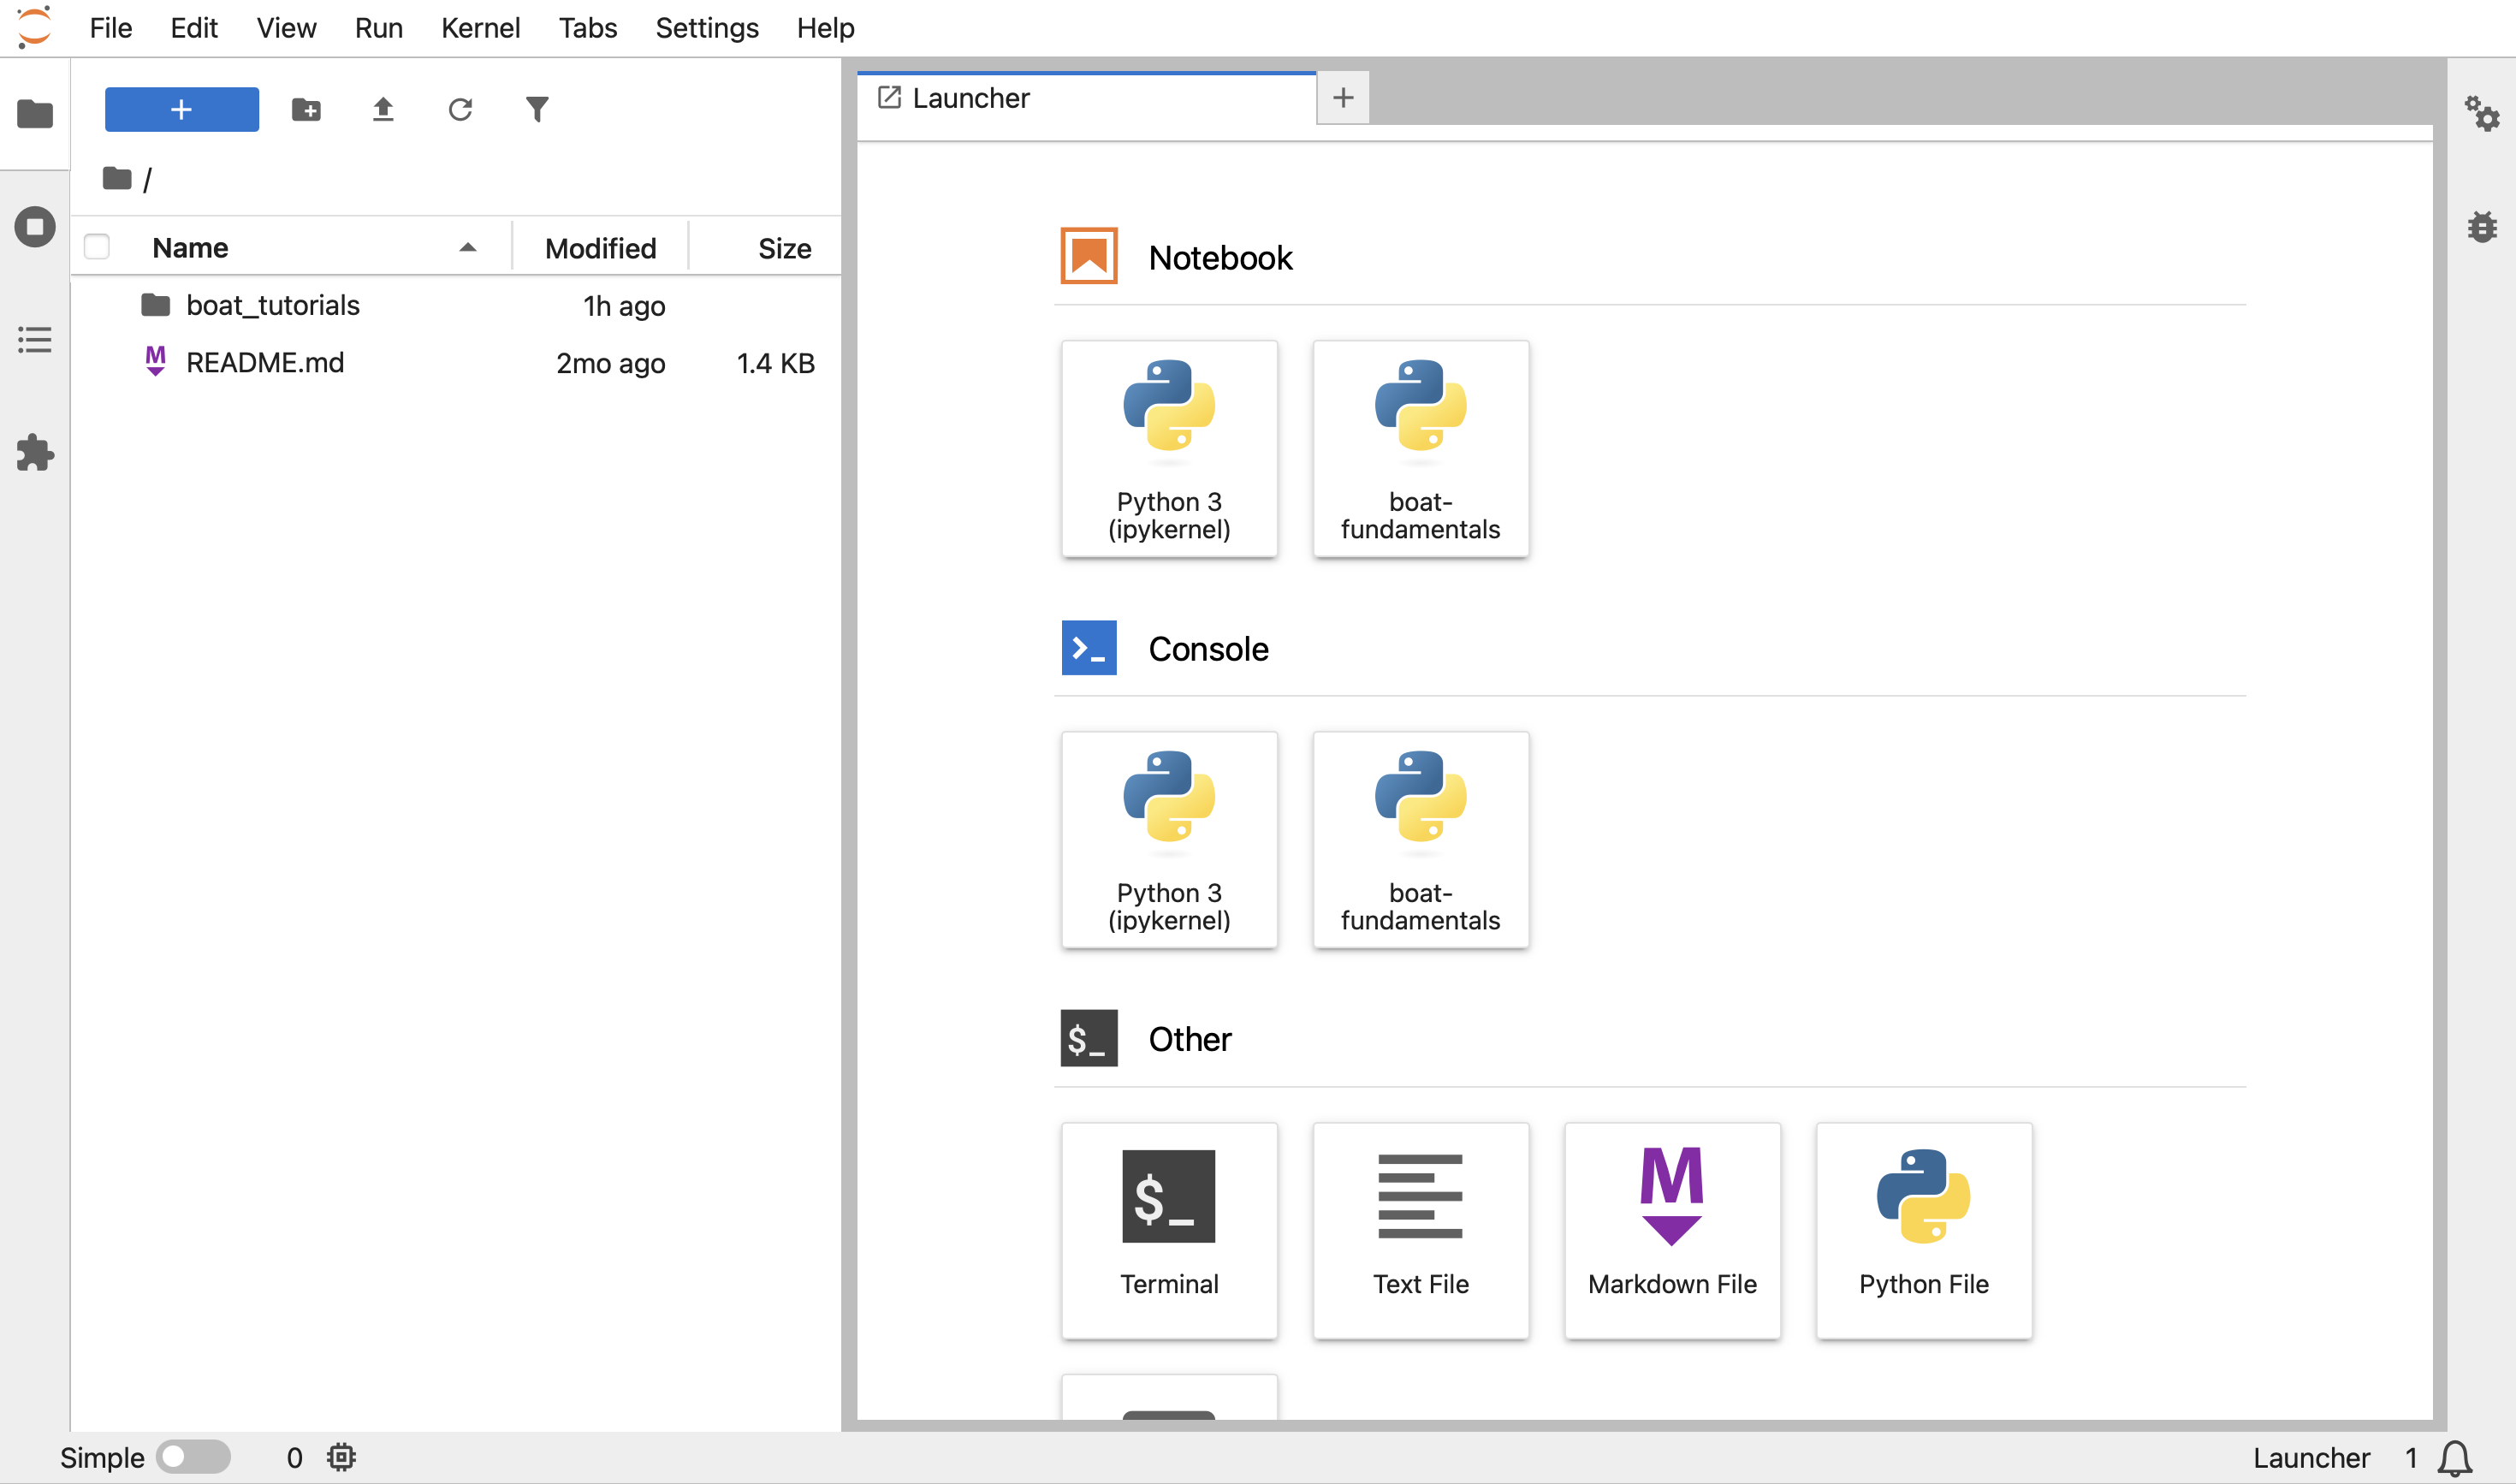
Launch a Jupyter notebook with JupyterLab#
Now that we have create a conda environment for running the tutorials, let’s test it by trying to run a Jupyter Notebook to make sure everything is working fine.
Jupyter Notebooks are interactive and shareable documents that integrates live code, equations, comments, and visualizations in a single file. The tutorial materials on this site are all executable Jupyter Notebooks with interactive “widgets” that can help us develop physical intuitions on ocean acoustics problems. We will run the notebooks using the JupyterLab interface.
Tip
Check out Project Jupyter to understand the Jupyter ecosystem!
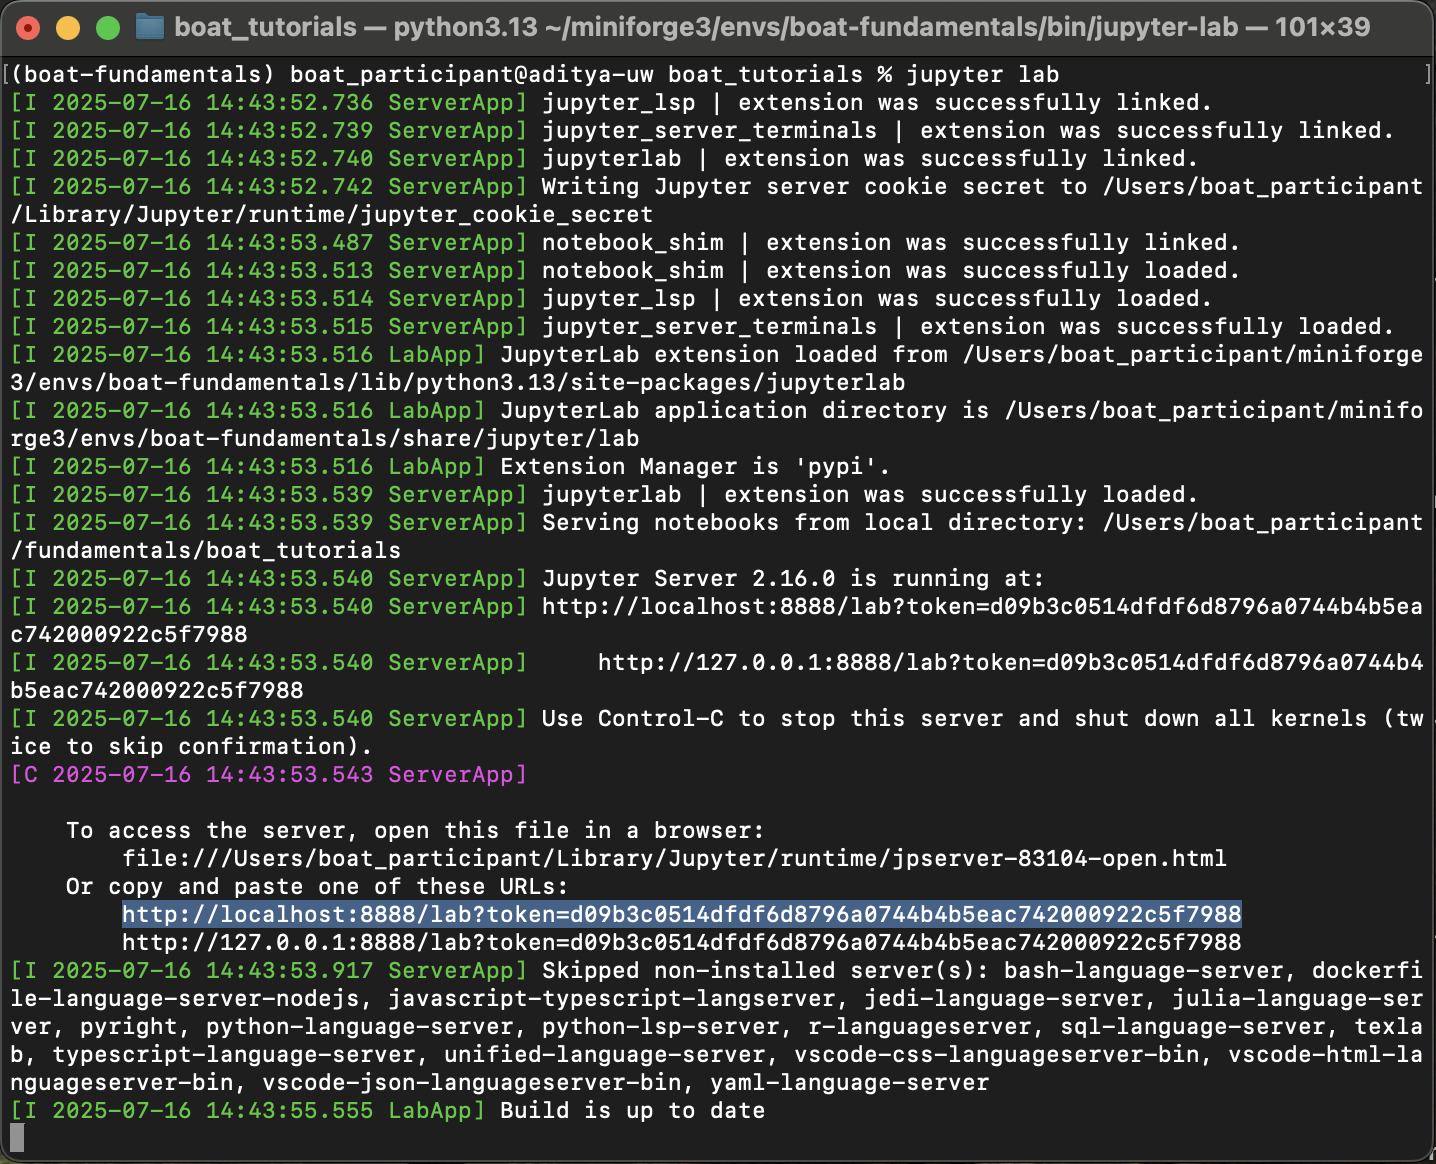
Let’s now launch the JupyterLab by running below in the terminal:
$ jupyter lab
You should be taken to a website as shown below:
If this website has not launched, go back to the same terminal window and the provided URL (typically http://localhost:8888) into a browser to access the website:
Using JupyterLab’s file explorer window, navigate to the
boat_tutorials/env_setupfolder where we have stored a Jupyter notebook namedlocal_env_test.ipynb. This notebook lets us test and ensure that theboat-fundamentalsenvironment is working fine.
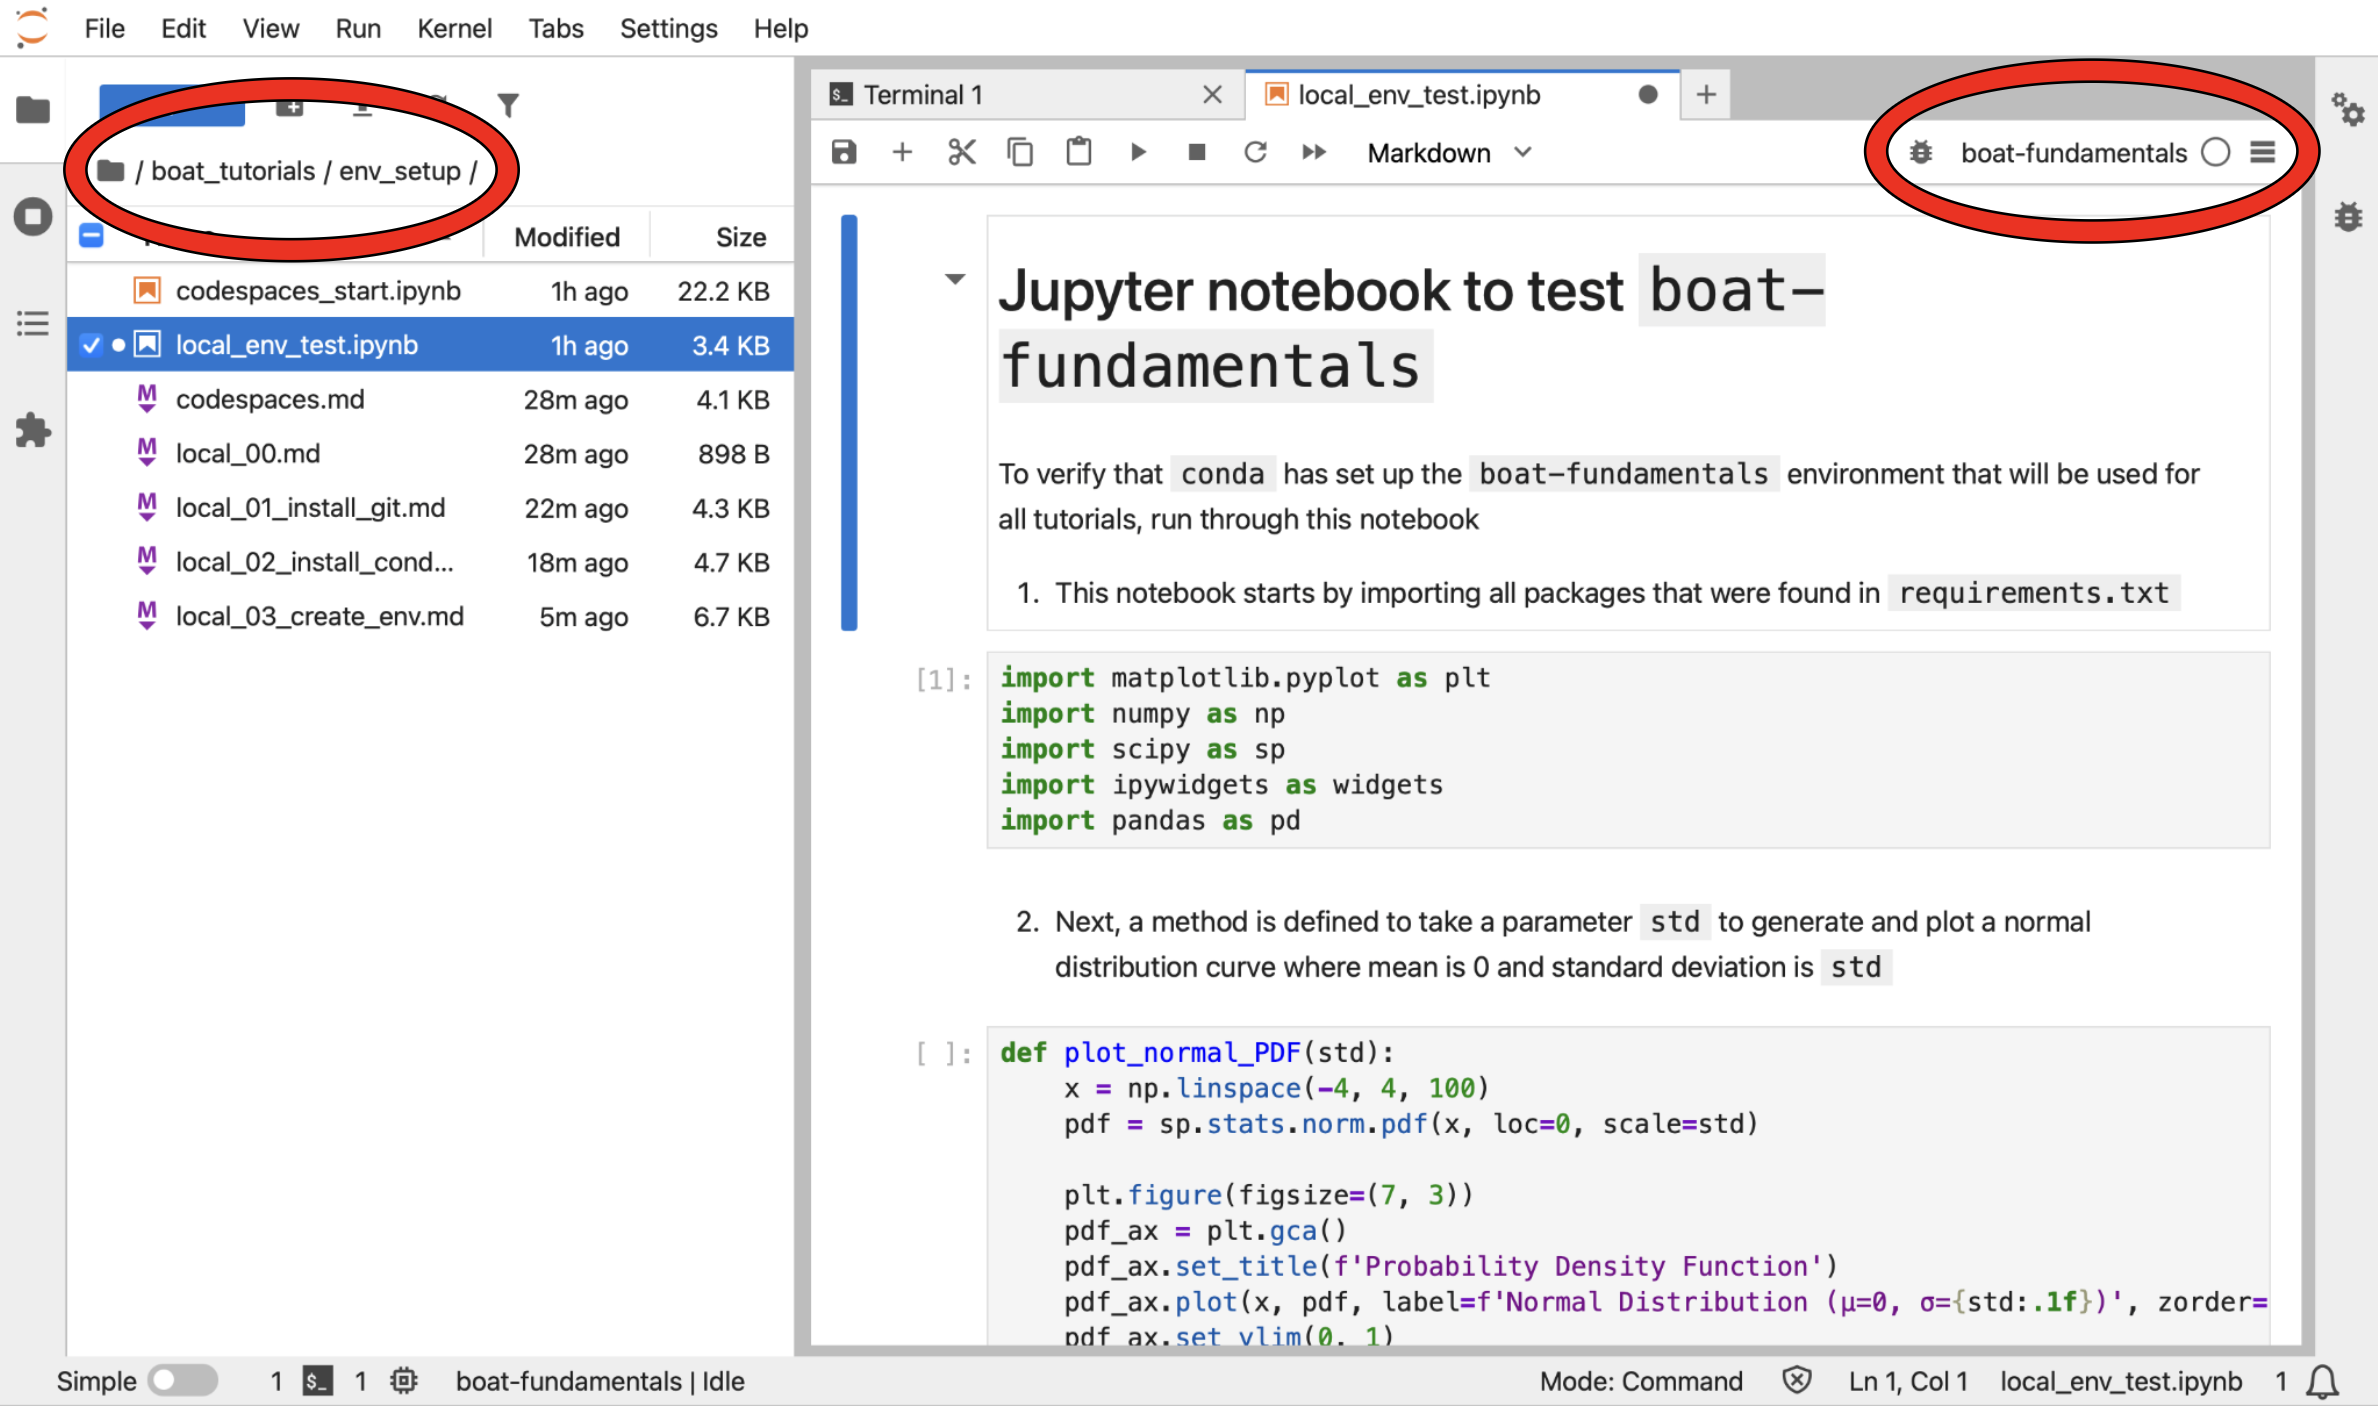
After you have opened the Jupyter notebook, click Python 3 (ipykernel) on the upper-right corner and select the kernel named boat-fundamentals for this notebook.
Now you can start working through the Jupyter notebook!
Work through the test Jupyter notebook#
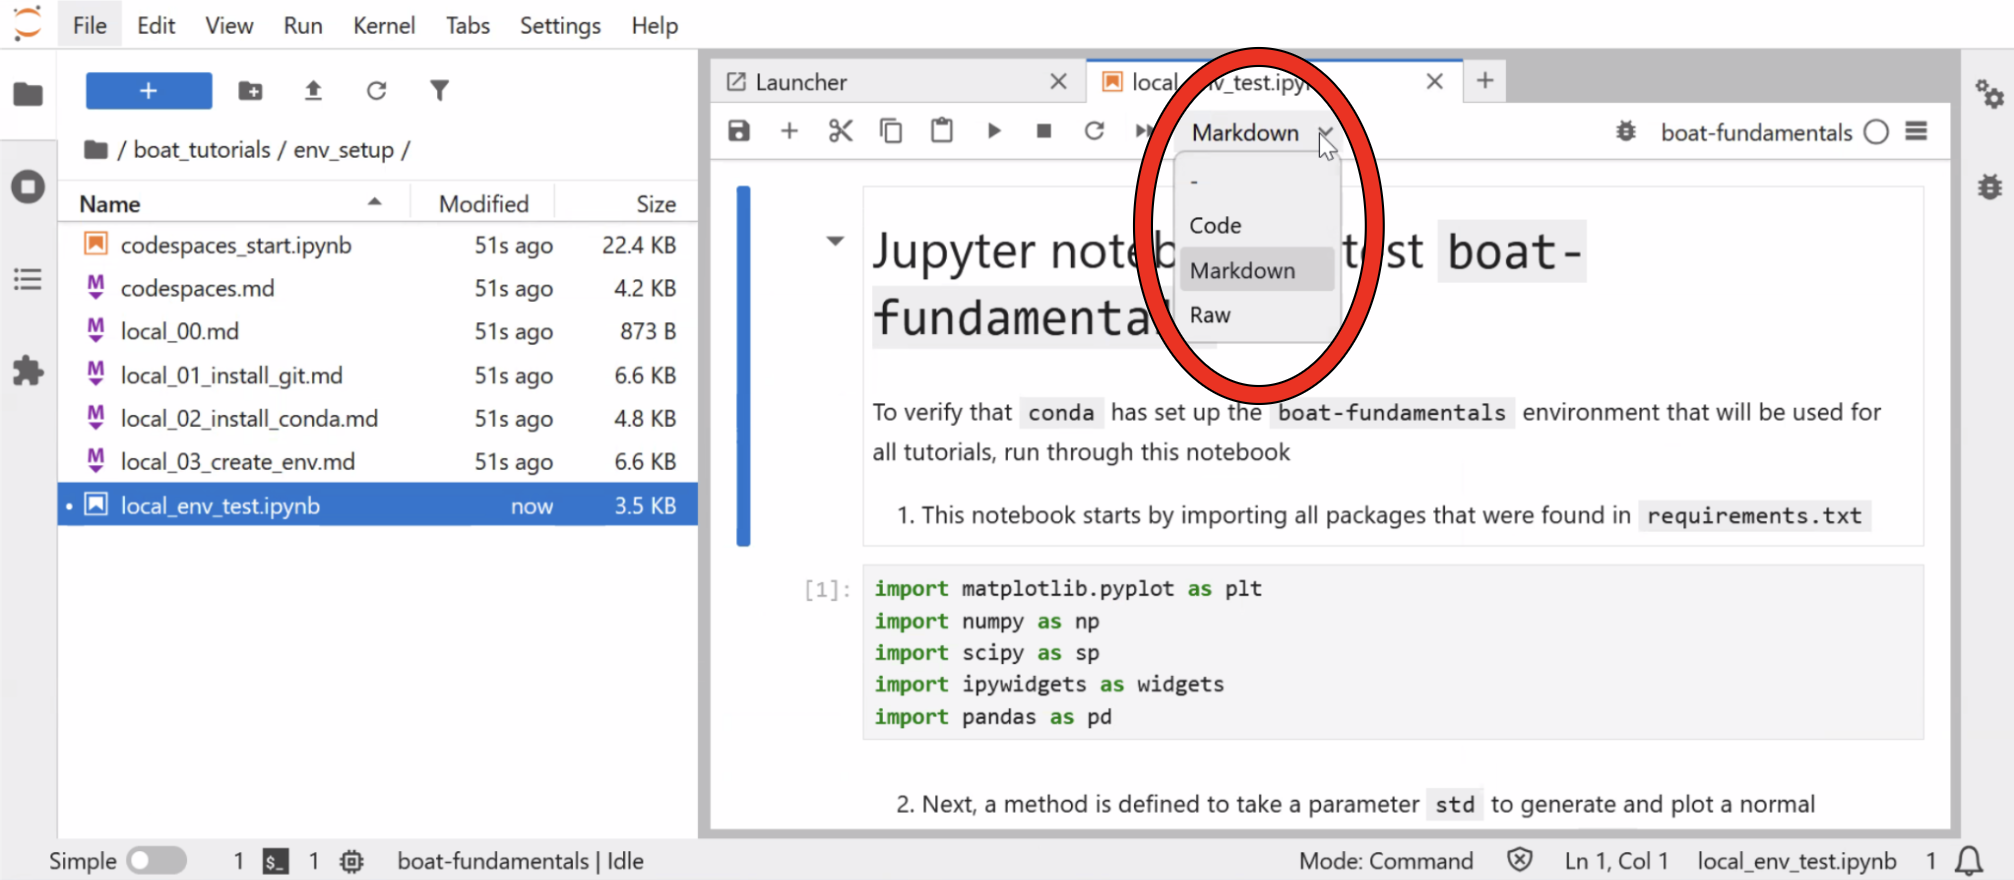
As mentioned earlier, Jupyter notebooks integrates live code, notes, and visualizations in a single file. The main components of Jupyter notebooks are known as cells. Cells can be designated as “Code” cells (to hold programming code), “Markdown” cells (to hold Markdown notes), or “Raw” strings.
The local_env_test.ipynb notebook has 3 code cells and 3 markdown cells, and will produce an interactive widget once we run through all cells in the notebook.
Run the markdown cell that introduces the notebook with a title, overview, and explanation for what the next cell is expected to do.
Run the code cell that imports all packages needed for running code in this notebook. If errors occur when you run this cell, your
condaenvironment is not set up correctly.Run the markdown cell that explains the plotting code that will be used later.
Run the code cell that contains the plotting code. Running this cell will not print anything because this is simply a function definition. The actual code content will be run as part of the widget in the last cell.
Run the markdown cell that explains the widget and range of values that can be provided for the variable
std, which is the standard deviation for normal distribution.Run the code cell that will produce an interactive widget, which would allow you to see how normal distribution changes with varying
stdvalue, like below:
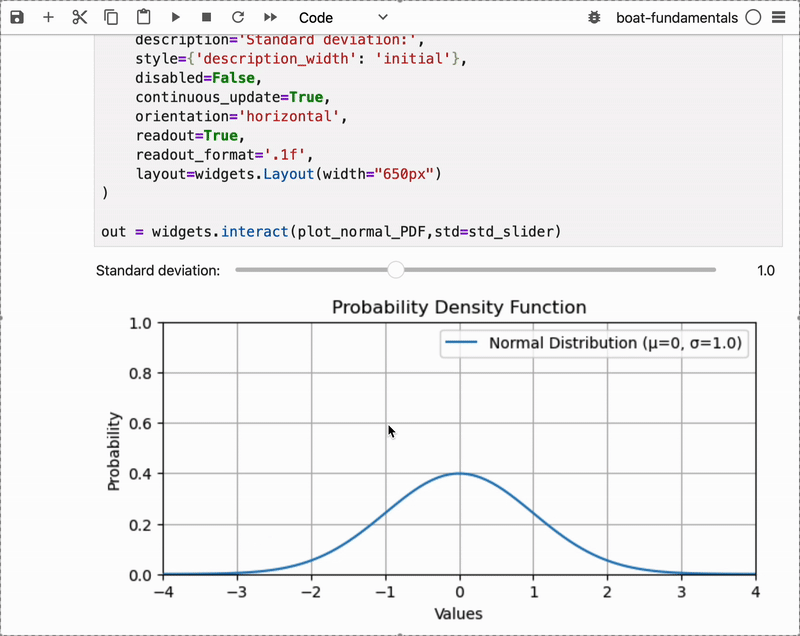
If you can run the widget as seen above, you have everything you need to run all tutorials on this site!