Install conda via Miniforge#
Conda (or its recent cousin, Mamba) is an environment manager that will help us set up a computational environment to run the tutorials. Using conda has the following benefits:
Isolation of dependencies
Reproducibility
Ease of management
Testing and development
If your computer does not have conda installed, we suggest install via Miniforge.
We recommend installing Miniforge by downloading and running the installer for your operation system from https://conda-forge.org/download/. Below we summarize the steps.
Mac & Linux#
Download the shell script (the .sh file) and open a terminal to run the command:
$ bash Miniforge3-$(uname)-$(uname -m).sh
Warning
At the time of writing this documentation, the installer for macOS arm64 is named Miniforge3-MacOSX-arm64.sh while the uname command returns Darwin. So performing the above command results in bash: Miniforge3-Darwin-arm64.sh: No such file or directory. To fix this, simply run:
$ bash Miniforge3-MacOSX-arm64.sh # (i.e., run `bash` on the installer's file name)
You may need to cd (change directory) into the folder that contains your downloaded file first. For example, below we cd into the ~/Downloads first before running the command:

After running the above commands, complete the following steps from the installer:
Agree to license terms and confirm the default location for install. After pressing ENTER, Miniforge will begin installing the required packages and solvers.

Type
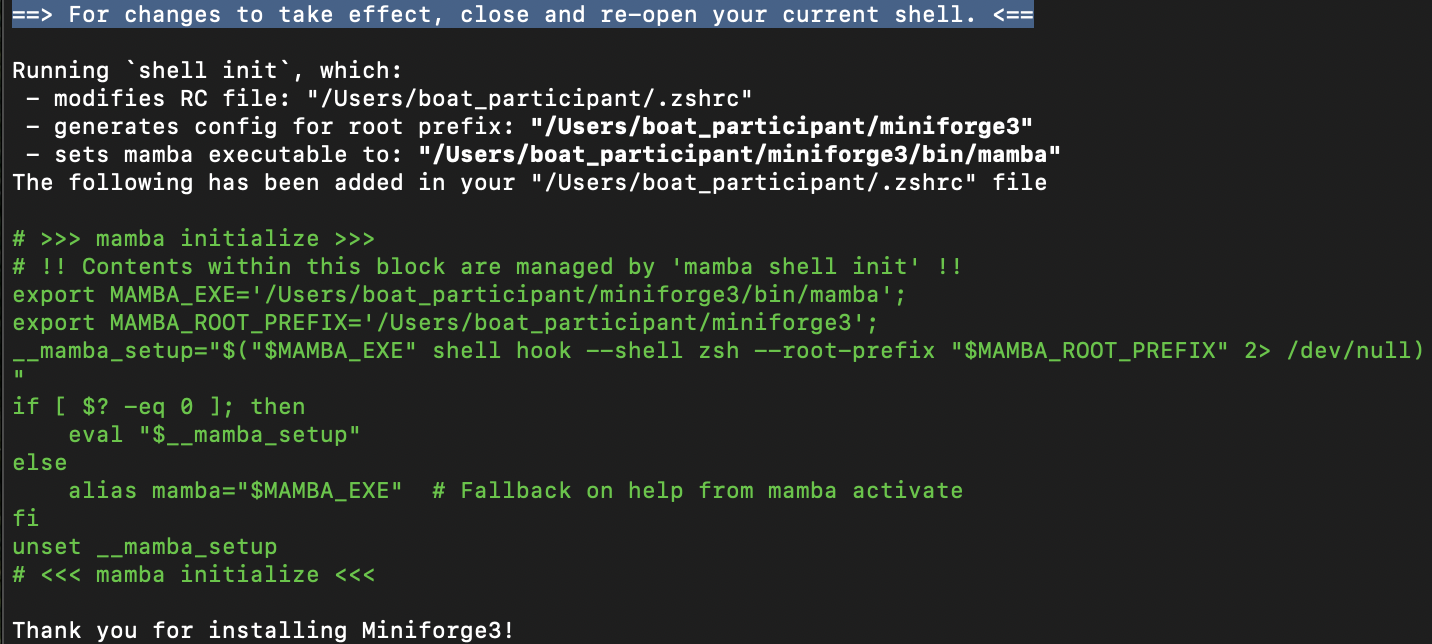
yesif prompted “Do you wish to update your shell profile to automatically initialize conda?” Automatically initializingcondamakes it easier to use.
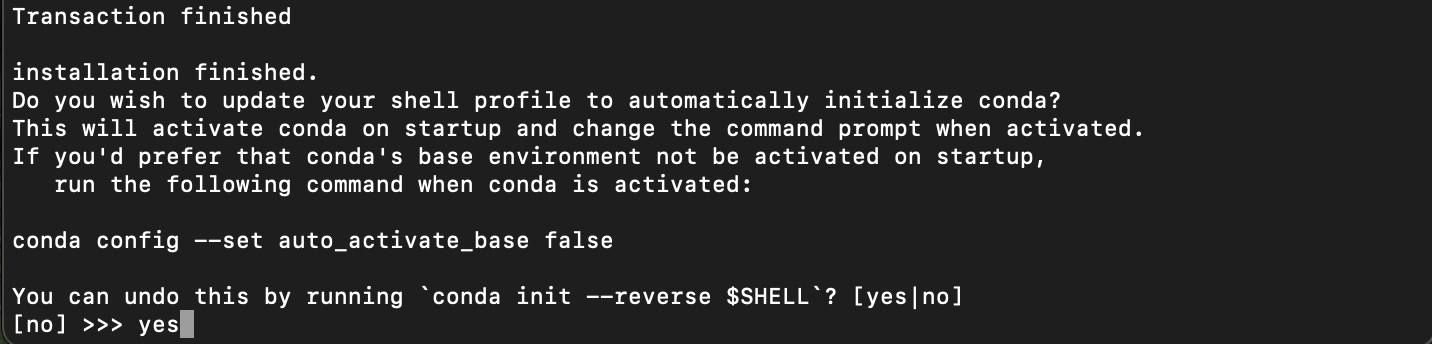
After Miniforge has finished installing, make sure to close and re-open the terminal for changes to take effect.
Windows#
Download and run the Windows installer (the .exe file).
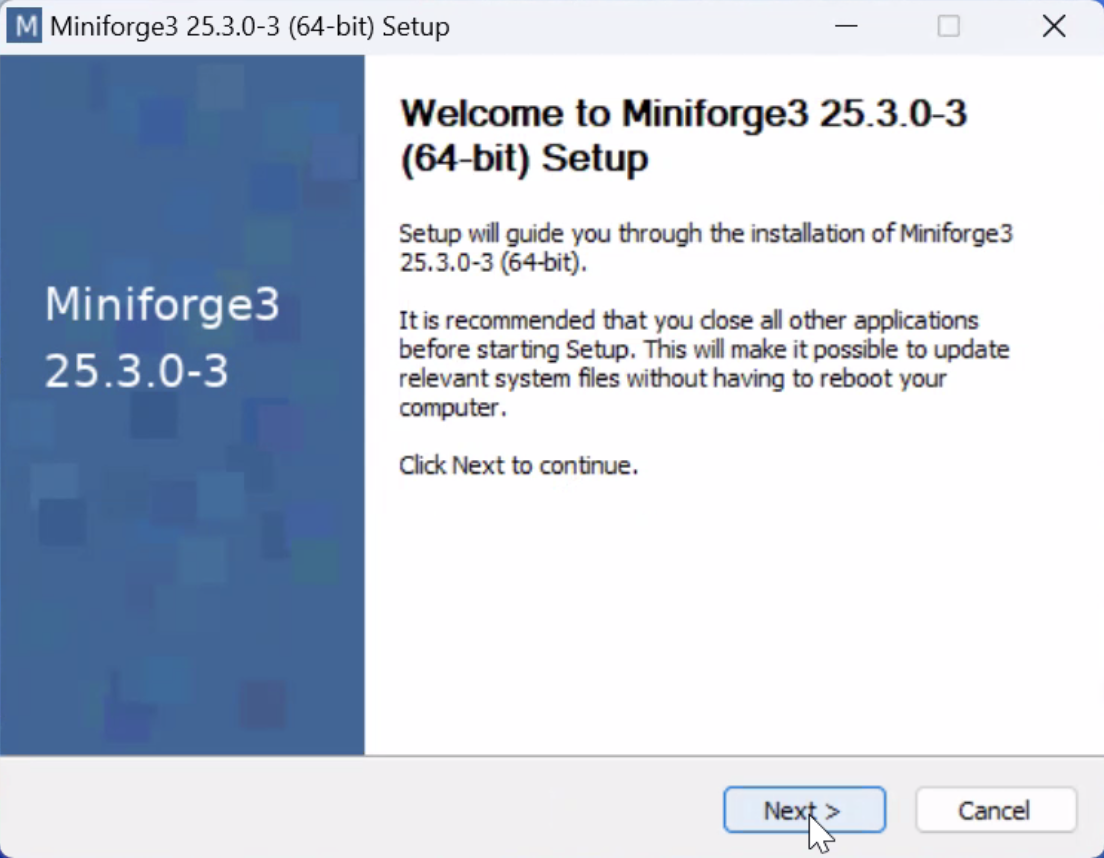
Follow the steps below as you go through the installer:
Agree to the License Agreement

Install for “Just Me (recommended)”
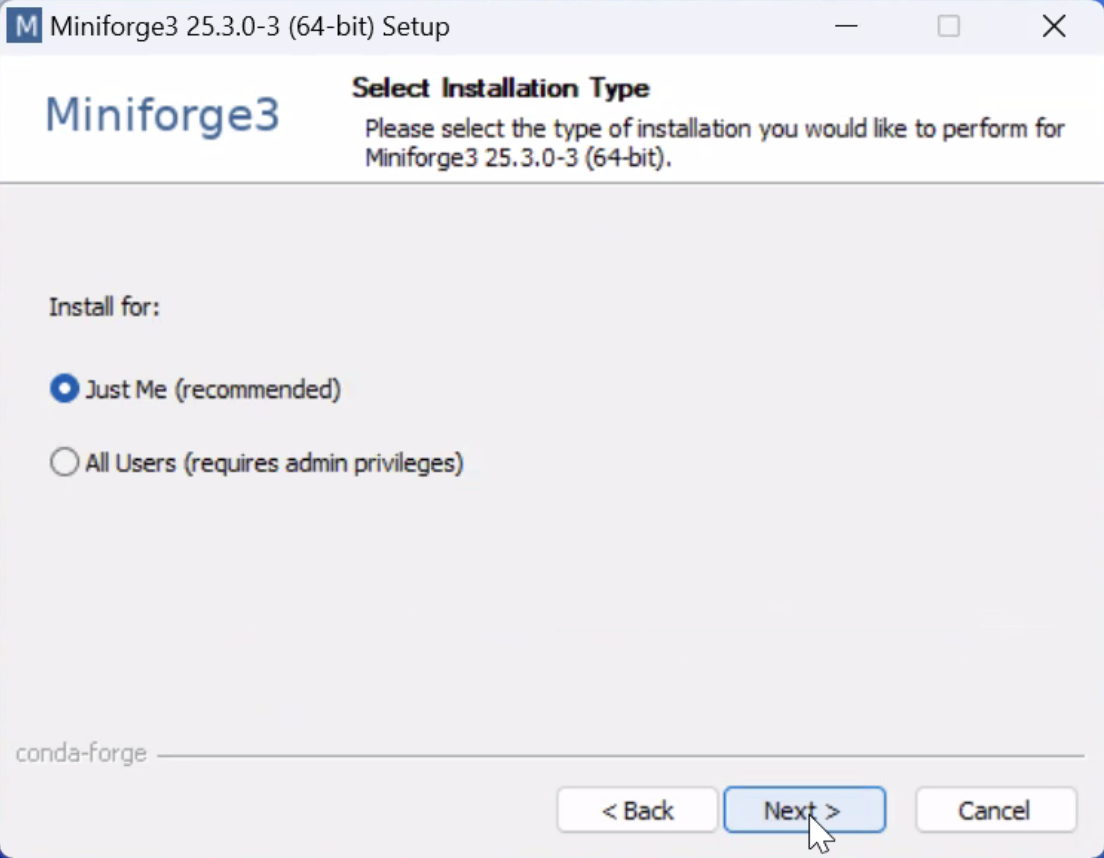
Install in the default folder

Check the following options to ensure
conda/mambacan be accessed from Windows terminal
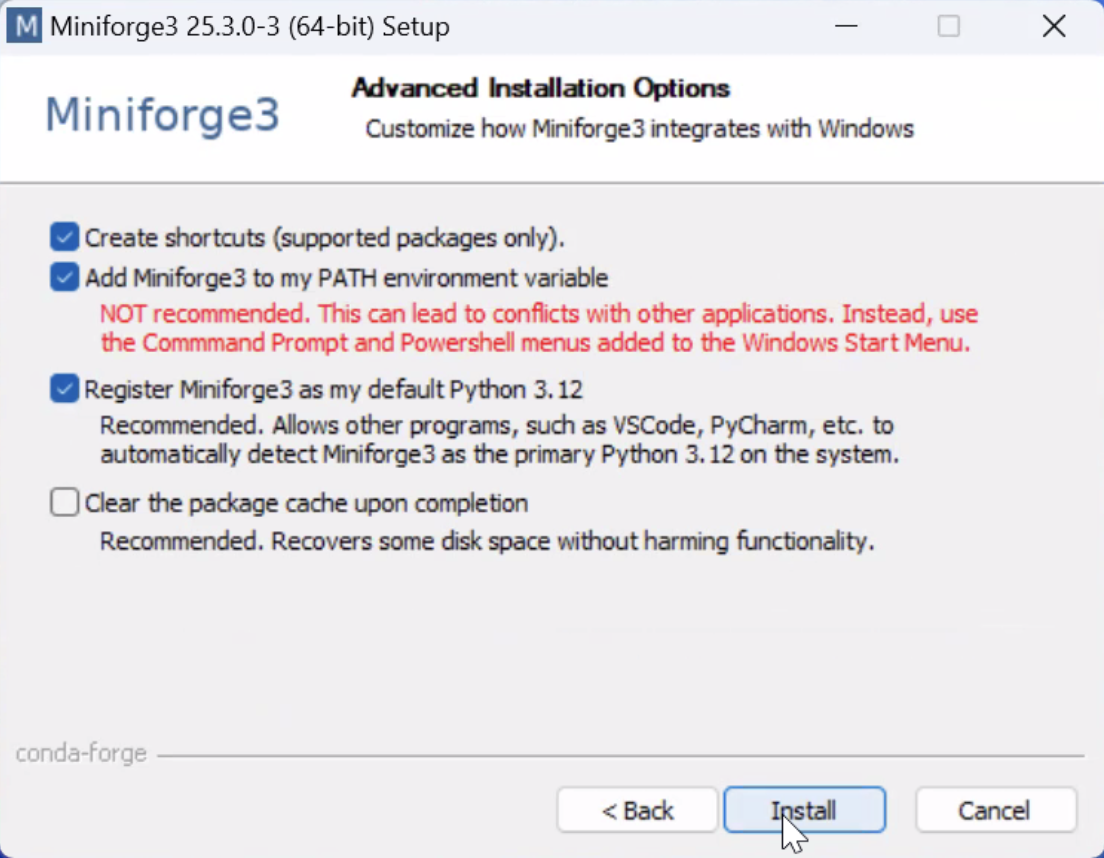
Wait for installation and click “Next” and “Finish”
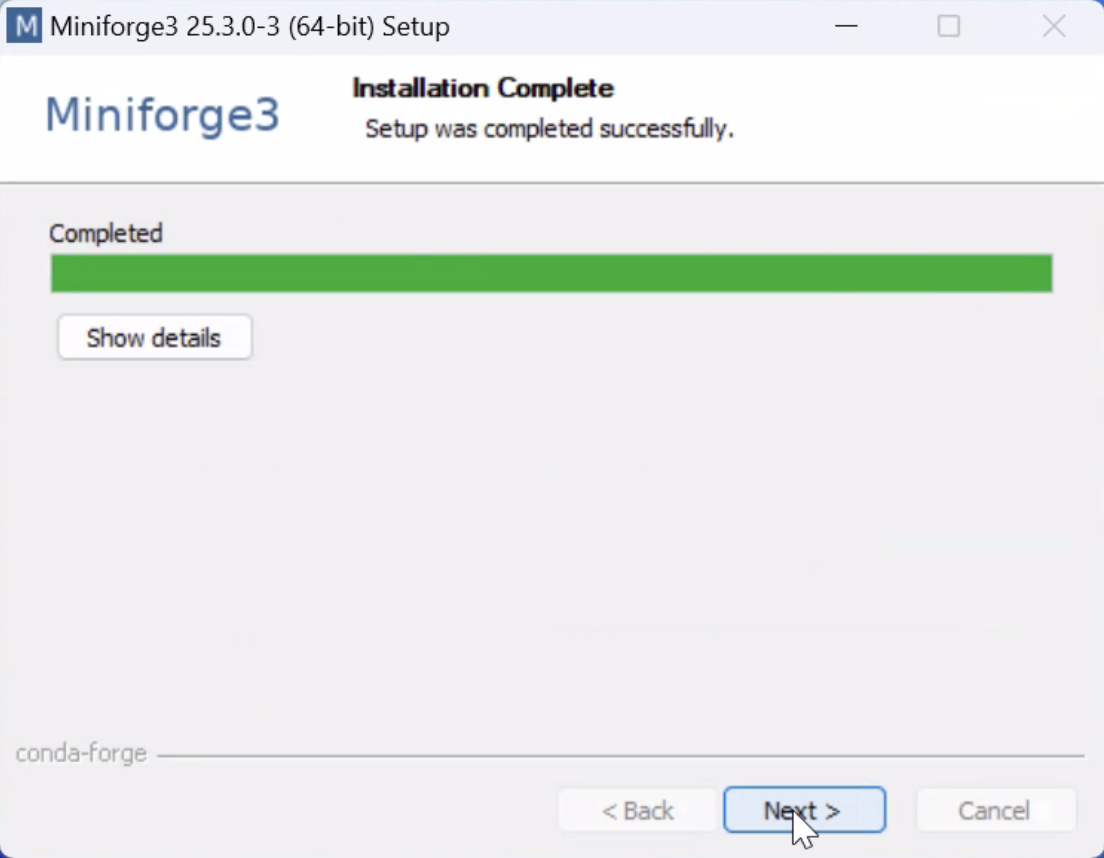
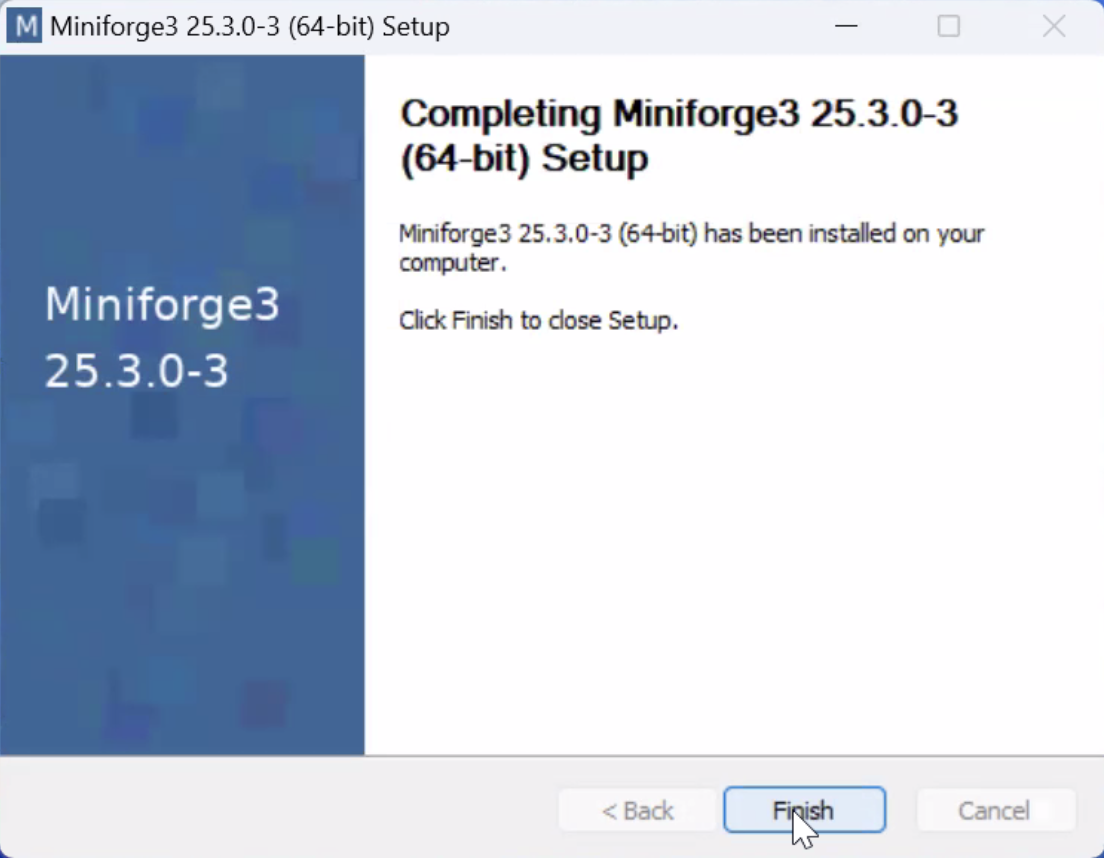
Miniforge has now been installed on Windows!
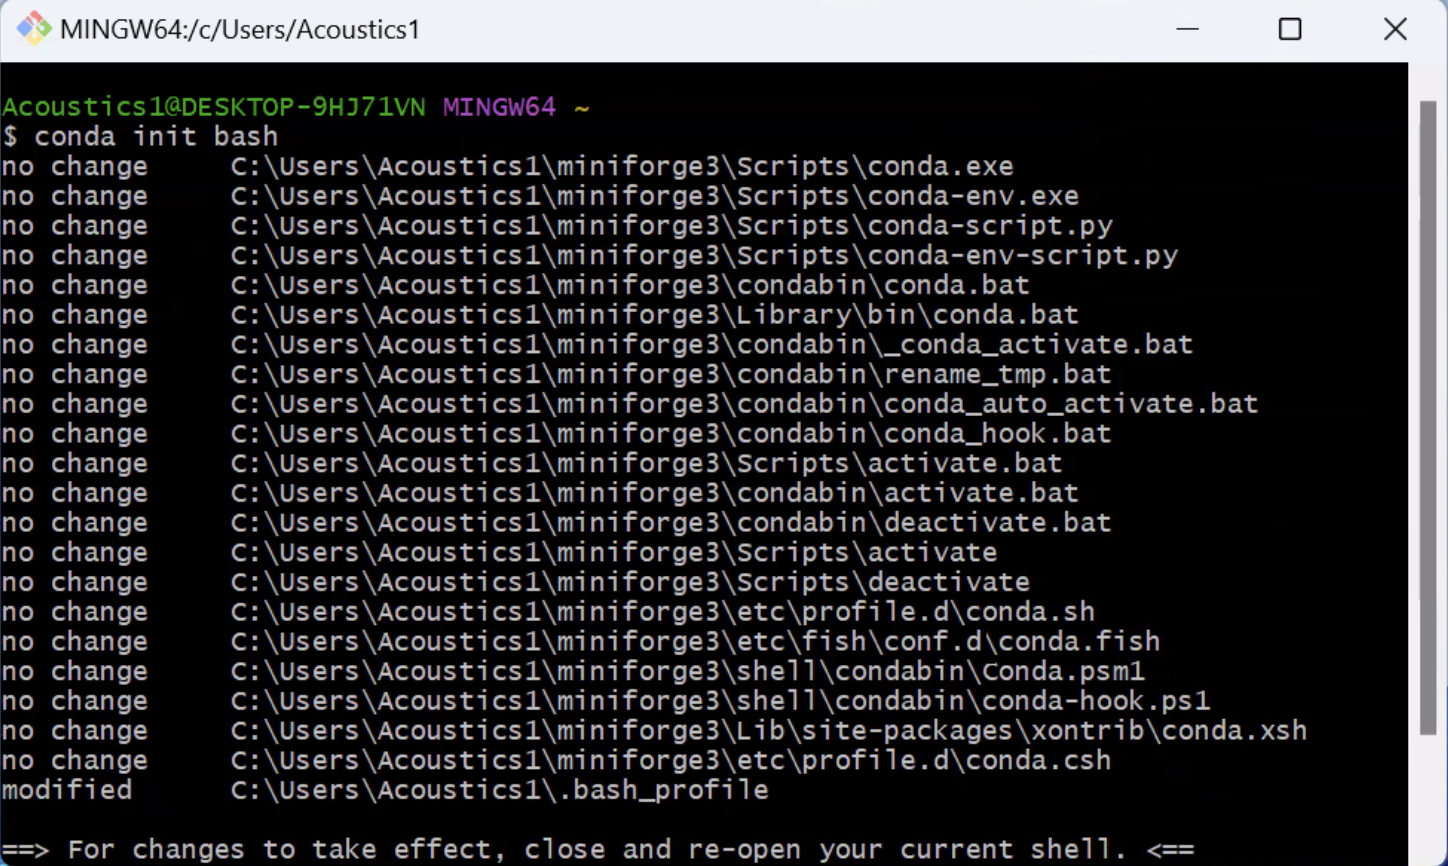
To set Git Bash to automatically activate conda whenever a terminal is opened, run the following commands:
conda init bash
conda config --set auto_activate_base true
Be sure to close and re-open GitBash after these commands for the changes to take effect.

Once Git Bash has been re-opened, it should show you on start-up that you are in the base environment (you should see “(base)” on the left).
