Install Git#
Git is a version control system that is designed to track changes in files stored within repositories. GitHub offers a platform for storing and collaborating on various Git repositories.
Caution
Installing Git requires administrator access to your computer.
Mac & Linux#
Terminals come pre-installed with Git so there are no steps required to install Git.
To launch terminal, go to Spotlight Search or Applications and find the Terminal app to open.

Windows#
Git can be installed in two different ways on Windows. The first is through using Windows’ command-line interface (CLI). The second is by downloading the Windows installer with a graphical user interface (GUI).
If this is the first you install Git, we recommend using the GUI installer to see where Git will be installed on your computer and to easily select the settings specific to your Git software.
Install using CLI#
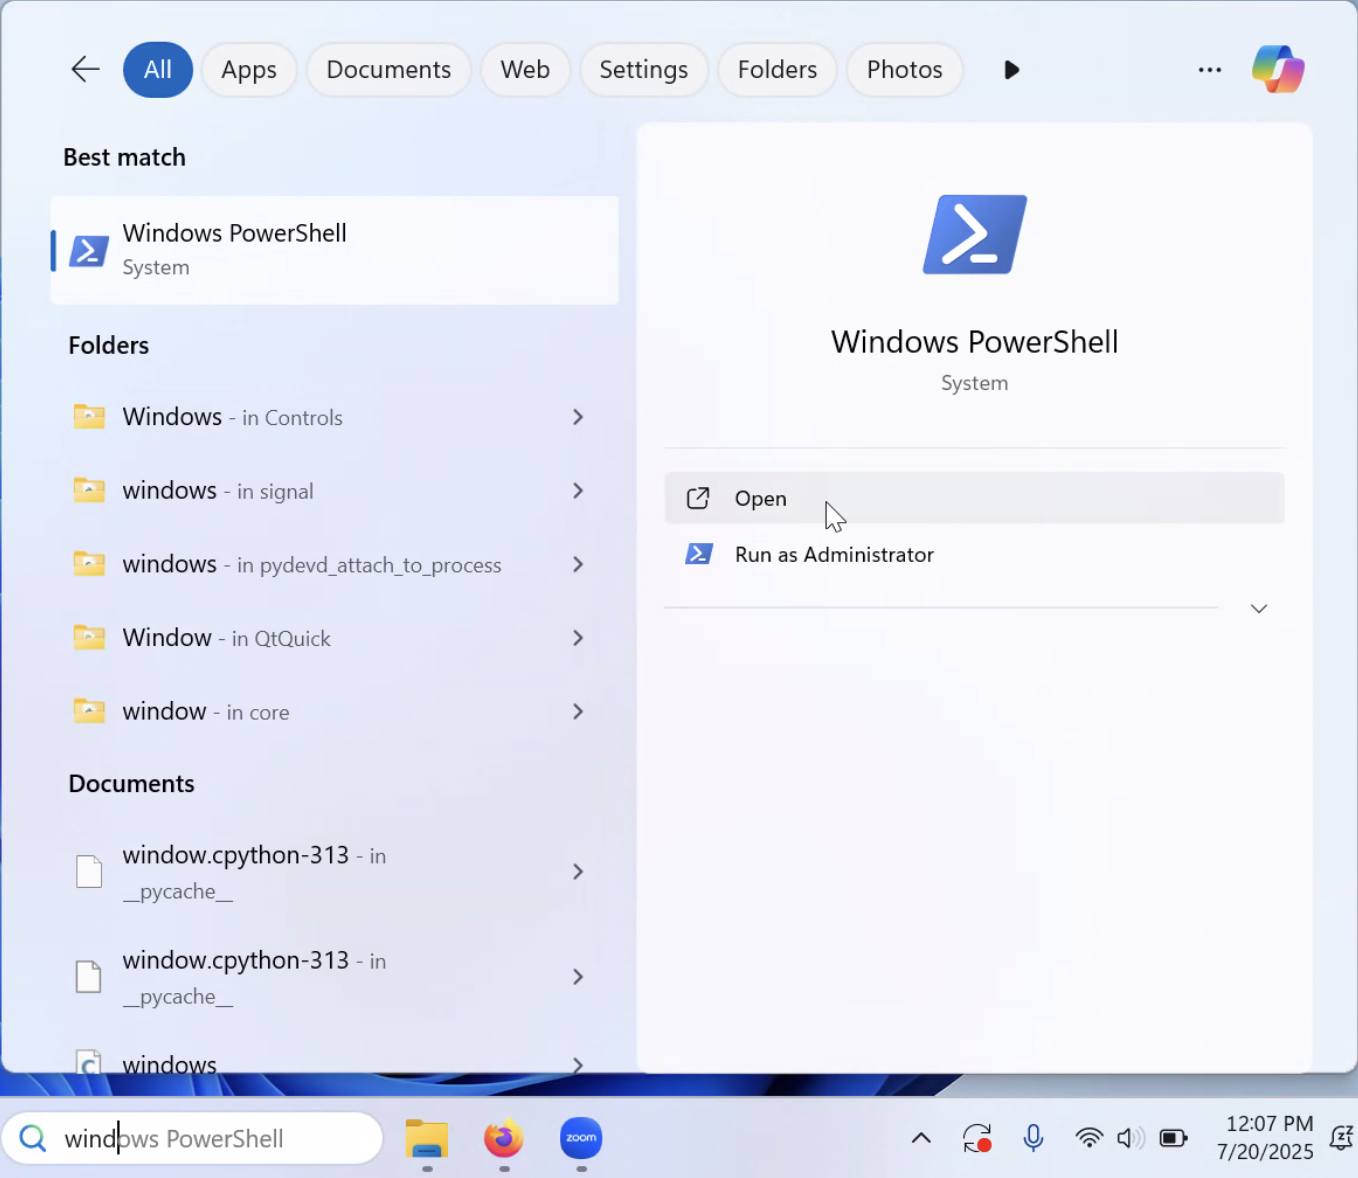
Git may be installed using a CLI as long as the user has the winget tool (installed by-default on Windows 10 and Windows 11), can access the internet, and have a CLI like Windows Powershell or Command Prompt (should be available by default). We will be using Windows Powershell in the screenshots below.
Launch your CLI and enter the command below:
winget install --id Git.Git -e --source winget --custom '/o:Components=ext,gitlfs,assoc,assoc_sh /o:EditorOption=Nano /o:SSHOption=OpenSSH /o:CurlOption:OpenSSL /o:BashTerminalOption=MinTTY'

You will be prompted for administrator password and
wingetwill proceed to download and install Git

Note
The command provided above installs Git with the same settings as the GUI install explained in the section below. If you want to install with different settings, you can refer to this guide to configure the settings.
A command commonly found online is winget install --id Git.Git -e --source winget
Install using GUI#
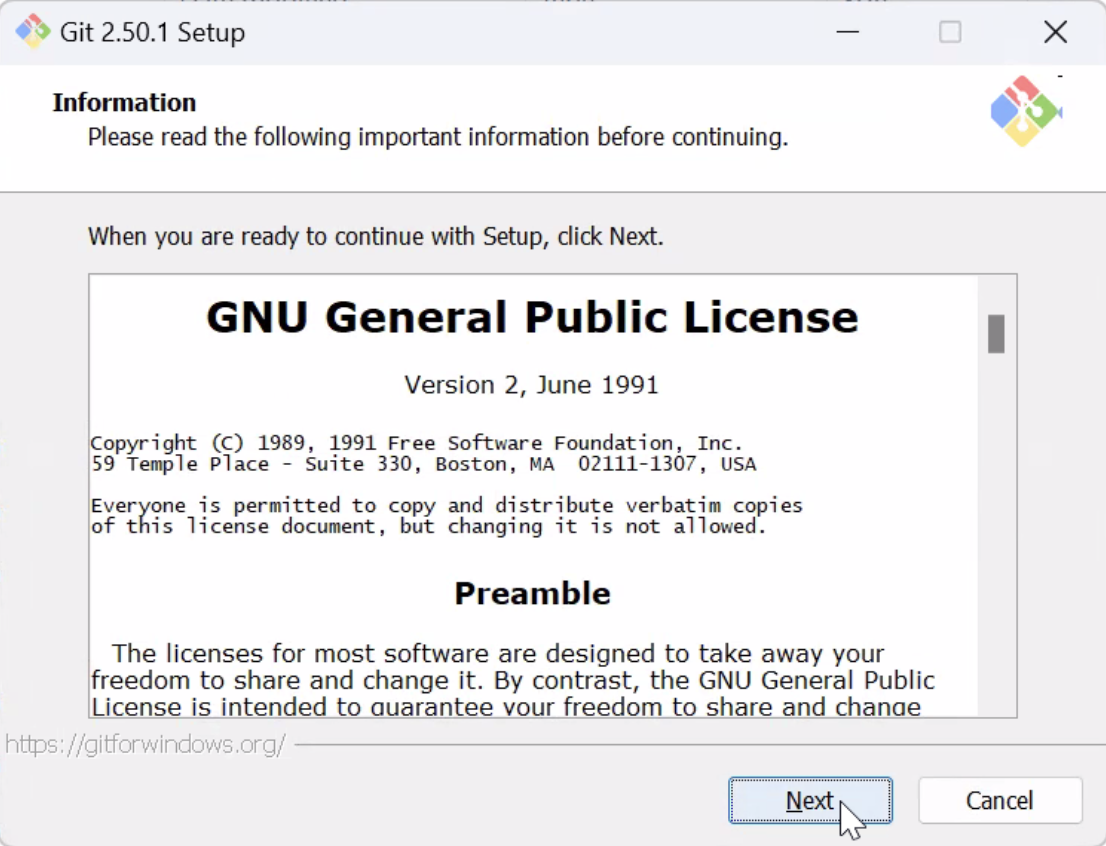
Download and run the Windows installer (the .exe file).
After double-clicking the installer, you will first be prompted to enter your administrator password. Follow the steps below:
Read the license and click “Next” to continue
Install Git in the default location

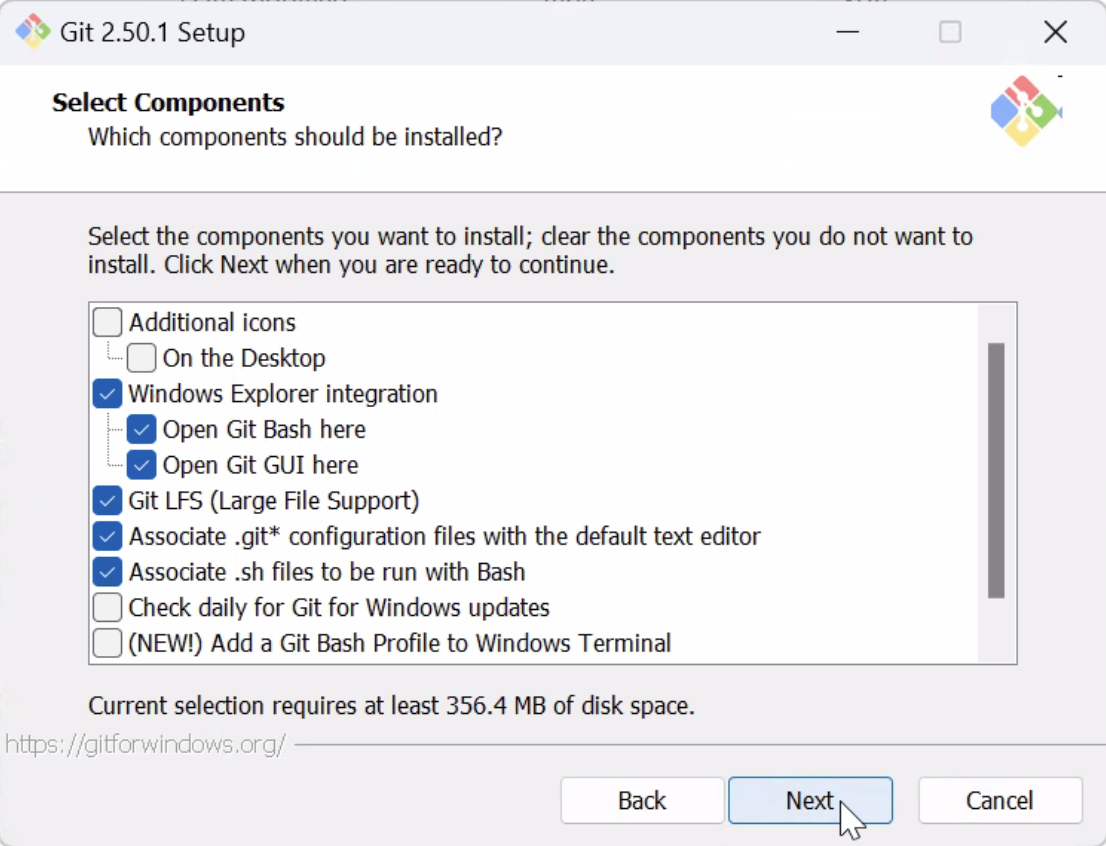
Leave the default components selected
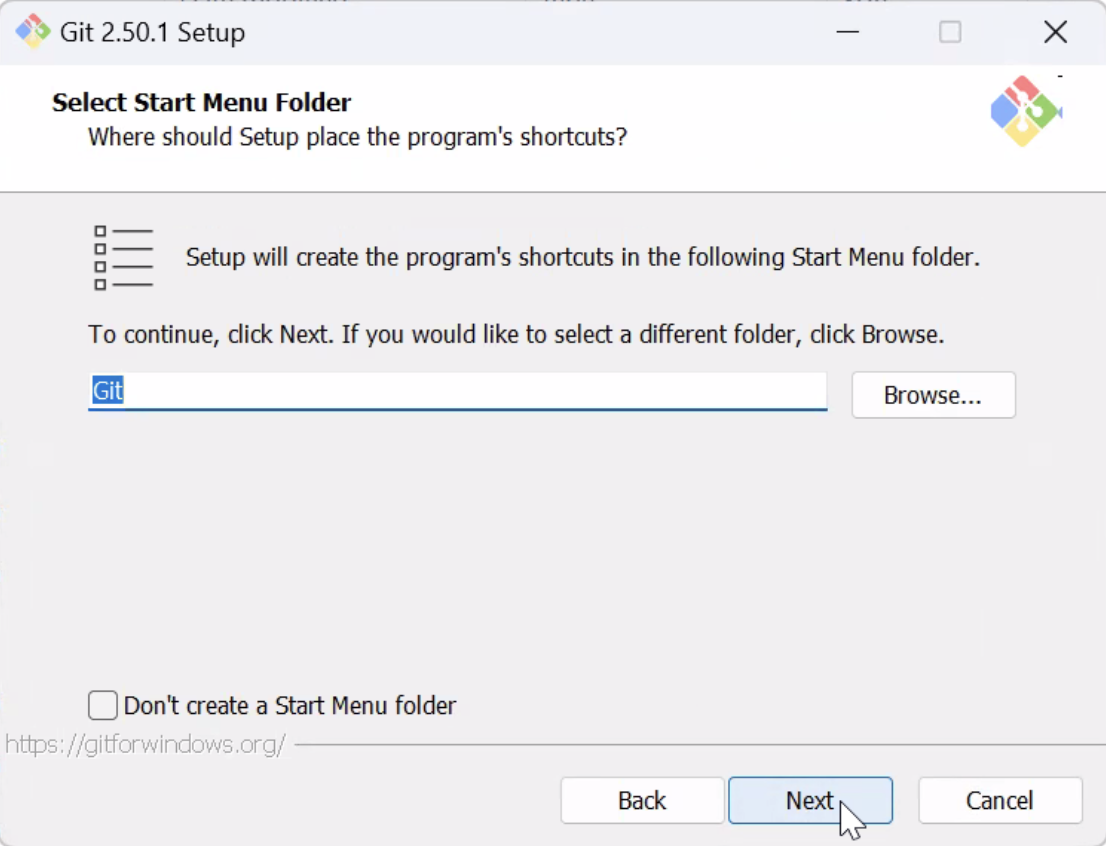
Select the default Start Menu folder
Change the default editor used by Git to
nanowhich is a simpler alternative tovim

Override the default branch name for new repositories to be “main”

Select “Git from the command line and also from 3rd-party software”

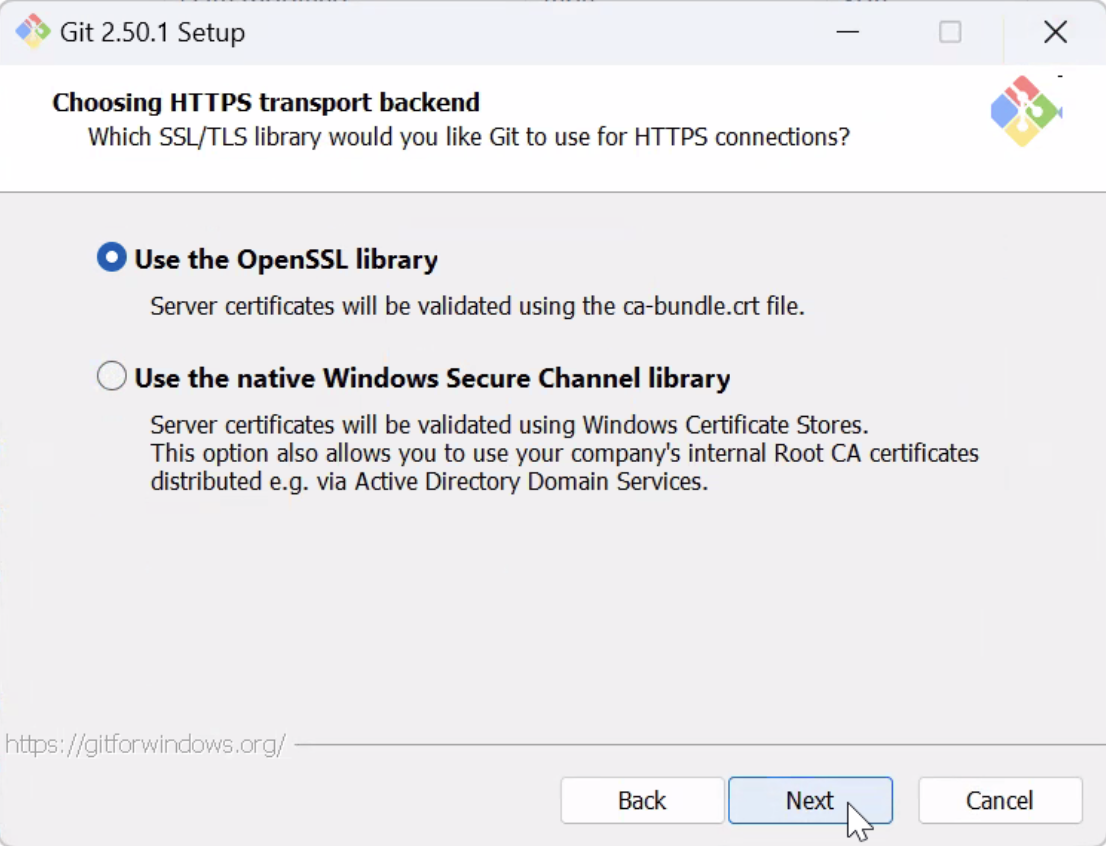
Select “Use the OpenSSL library” as the HTTPS transport backend
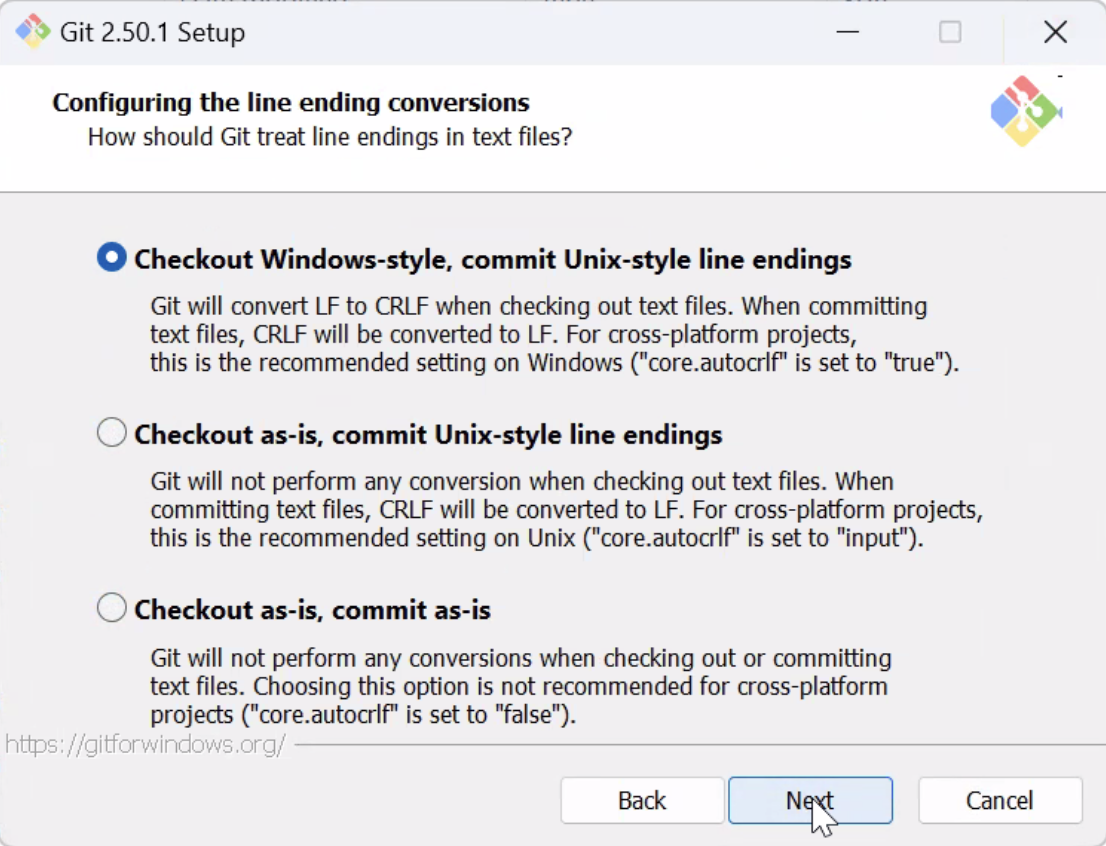
Select “Checkout Windows-style, commit Unix-style line endings”
Use MinTTY as the terminal emulator to use with Git Bash

Select “Fast-forward or merge” as the default behavior for git pull

Select “Git Credential Manager”

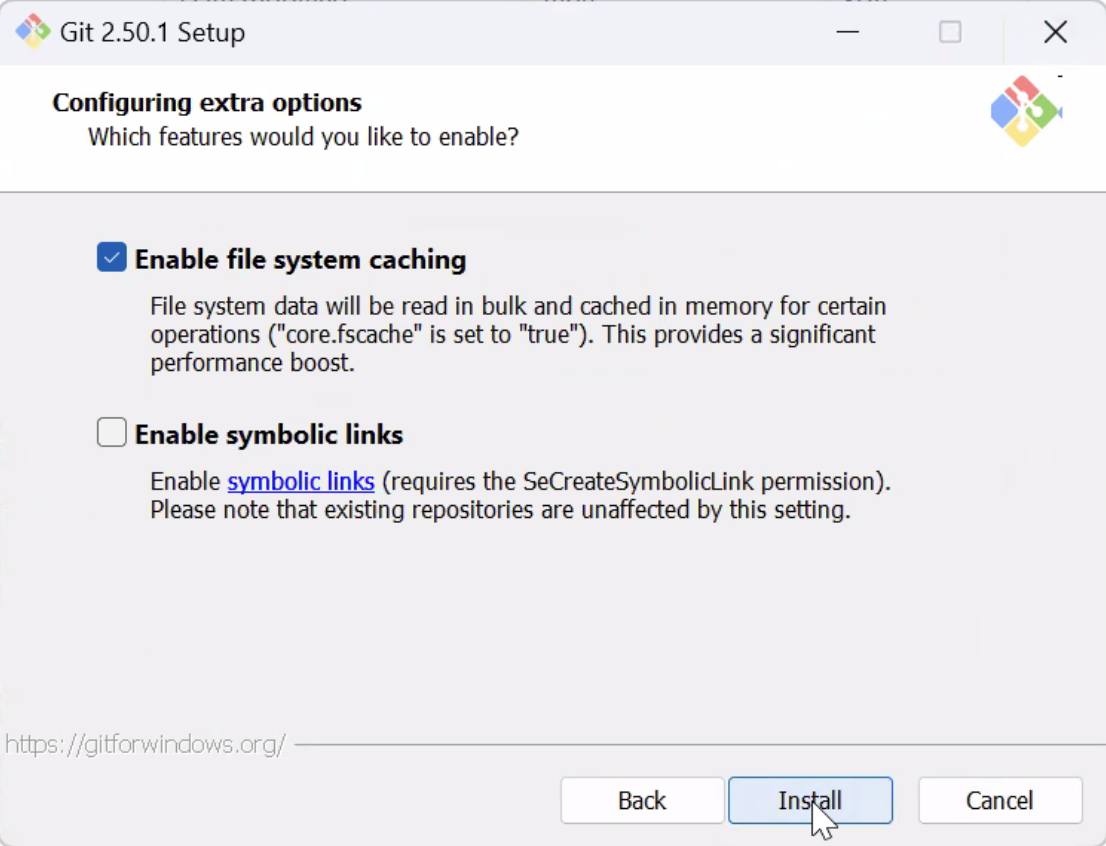
Select “Enable file-system caching” and click “Install.” Git will now begin to install and show a progress bar.
Click “Finish” once installed

Note
If there are any Git installation steps not covered in the instructions above, we recommend using default settings or using other online tutorials as found on Hostman, PhoenixNAP, or How-To Geek.
Post-installation#
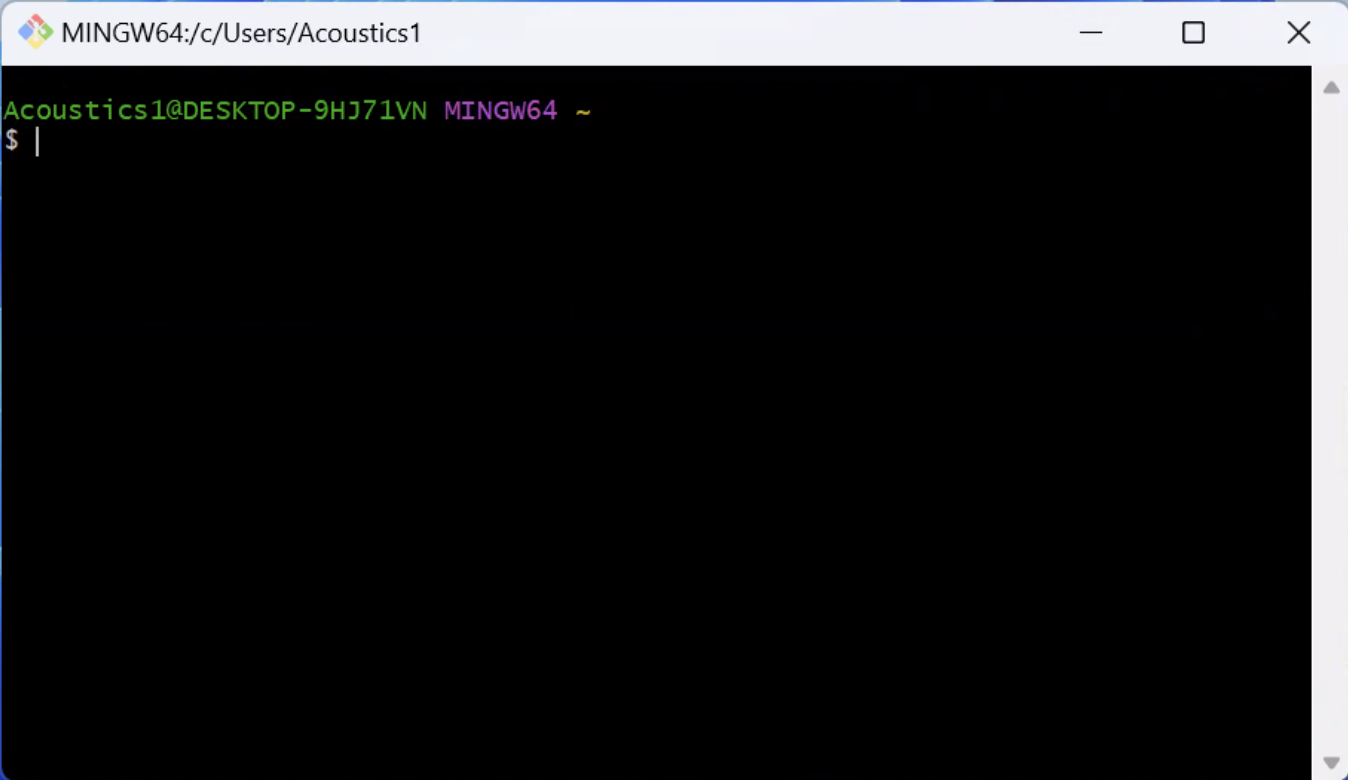
Git provide users with a new “Git Bash” terminal that is useful for setting up the conda environments and interacting with the tutorial repository, because it allows using commands such as cd and ls.
To launch Git Bash, go to the search bar in the Windows task bar and type “Git Bash.”

When the Git Bash app appears, open it to launch Git Bash terminal.